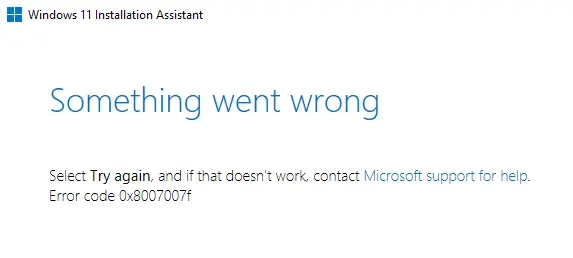
The Windows 11 installation assistant is a Microsoft utility that helps you install Windows. It can be used to create a bootable USB drive, or to set up a virtual machine (VM). On some occasions, the installation process may fail with an error code of 0x8007007f.
The windows 11 installation assistant error is a problem that happens when the Windows 11 Installation Assistant is used. There are several solutions to fix this issue, including reinstalling Windows and using the Media Creation Tool.
With a number of new features and enhancements, Microsoft launched Windows 11 as a free update for eligible Windows 10 devices. If your PC satisfies the Windows 11 minimum system requirements, a Windows 11 download popup will appear in the Windows Update area of your settings. The new operating system may be installed via Windows Update, Windows 11 Installation Assistant, or ISO files, much like Windows 10. However, for certain early users, the Windows 11 installation process becomes stuck, displaying Windows 11 error number 0x8007007f.
The error number 0x8007007f is being thrown by Windows 11 installation at approximately 71 percent completion, according to a Reddit user.
0x8007007f Is a Windows 11 Error Code
Insufficient administrative rights to execute Windows 11 Installation Assistant, third-party antivirus, out-of-date GPU drivers, insufficient storage or disk space, or corrupted or damaged system files are all frequent causes of error code 0x8007007f while upgrading to Windows 11. If you’re receiving the same error number 0x8007007f coupled with the “Something went wrong” error message when upgrading to Windows 11 Installation Assistant and it’s preventing you from installing Windows 11, try the remedies below.
- To solve the Windows 11 Installation Assistant problem 0x8007007, restart your computer and reinstall the updates.
- Remove any non-essential hardware devices, such as headphones, printers, scanners, USB flash drives, and external hard drives.
- If you have third-party antivirus installed on your computer, temporarily deactivate or remove it since antivirus is known to cause issues during the update or upgrading process.
- Ensure that you have enough free disk space (at least 16 GB) on the system drive (typically the C drive) to complete the update.
- To download Windows 11 update files from the Microsoft server, make sure you have a steady functioning internet connection and turn off VPN if it is enabled on your PC.
- Furthermore, uninstalling outdated or non-essential software may assist you in resolving an installation problem.
Minimum System Requirements for Windows 11
First, double-check that your device matches the minimum requirements for installing or upgrading to Windows 11. According to Microsoft, a successful installation of Windows 11 necessitates the following system requirements.
- On a suitable 64-bit CPU, 1 gigahertz (GHz) or faster with 2 or more cores is required.
- RAM: 4 GB
- Internal storage of 64 GB
- Secure boot using UEFI
- Version 2.0 of TPM
- Graphics card with WDDM 2.0 driver and DirectX 12 or later compatibility
- 8 bits per color channel, high definition (720p) display larger than 9″ diagonally
You may also use Microsoft’s PC Health Check Tool to see whether your PC is compatible with Windows 11. Run the program as administrator after downloading it from the provided URL.
The program will inform you whether or not your computer is compatible. If it isn’t, the program will provide a detailed list of reasons why your PC doesn’t support Windows 11.
As an Administrator, Run the Windows 11 Installation Assistant
To make changes to Windows system files, the upgrading procedure needs administrator rights. Several customers who experienced the same issue found that restarting their computers and then running the Installation Assistant in admin mode fixed the problem.
- Just reboot your computer after closing the Windows 11 Installation Assistant problem screen.
- Locate the Windows 11 Installation Assistant (which you downloaded from the Microsoft website), right-click it, and choose execute as administrator.
- If the user account control prompts you for permission, choose yes. And then update to Windows 11 by following the on-screen directions.
Disable Any Third-Party Antivirus Software
If your machine has a third-party antivirus program installed, you must deactivate or remove it before upgrading to Windows 11. It’s common knowledge that third-party antivirus may obstruct the upgrading process and cause various problems.
- To access programs and features, press Windows key + R, enter appwiz.cpl, and click OK.
- Locate and remove your antivirus program here.
- After that, restart your computer and look for the Windows 11 Installation Assistant. Right-click it and choose Run as Administrator.
- On the prompted UAC dialog box, choose Yes and follow the on-screen instructions.
Make Room on the System Partition
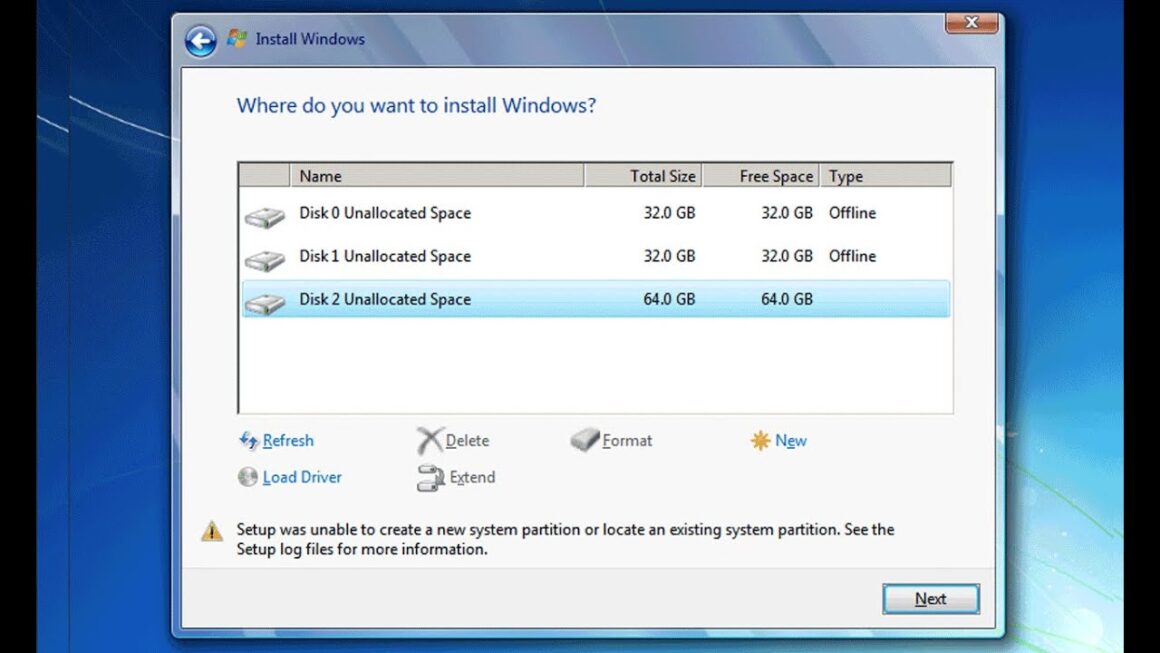
Insufficient storage on your system disk, as previously mentioned, may also cause this problem 0x8007007 while upgrading to Windows 11. It’s crucial because the installation helper downloads and installs the Windows 11 update files on the same partition as your system disk.
- If you’re using Windows 11, you’ll need at least 32 GB of free space on your system disk. If you’re running short on space, we suggest freeing up some space.
- You may use the Disk Cleanup tool in Windows to clear up some space on your system disk, which is typically C.
- To clear up disk space, you may use free applications like Comet (Managed Disk Cleanup) or Cleanmgr+.
- Additionally Delete duplicate files and data from the desktop, create a download folder, or transfer some material to an external disk or cloud storage.
Drivers for Your Graphics Card Need Be Updated
Another factor that may cause the issue is an out-of-date graphics driver. It’s never a good idea to use outdated graphics drivers, and it’s critical to make sure you’re using the most recent version available. If your graphics driver is out of current, we suggest removing it from the device manager and then downloading the most recent version for your graphics card from the manufacturer’s website, whether it’s NVIDIA or AMD. If the issue is caused by a driver incompatibility, you may try updating them by following the instructions below.
Click OK after pressing Windows key + R and typing devmgmt.msc.
This will open the device manager and show a list of all installed device drivers. Scroll down to the Display adapters list and expand it.
Right-click on your graphics drivers and choose Uninstall device from the drop-down menu.
- When prompted for confirmation, click uninstall one again, then restart your computer.
- After you’ve removed your graphics drivers, go to your manufacturer’s website and download the most recent drivers for your GPU.
- Install the drivers on your computer, then restart your computer. Now try upgrading to Windows 11 with the help of the installation assistance once again.
SFC and DISM Scans Should Be Performed
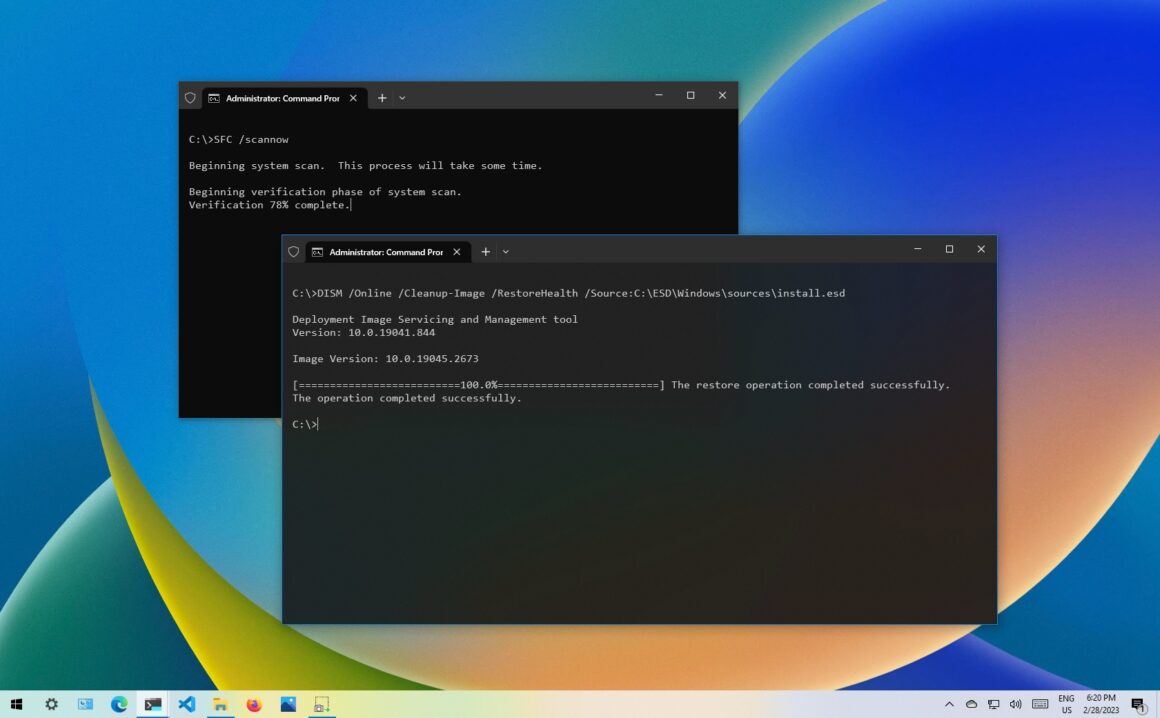
Damaged or corrupted system files may sometimes cause this issue. Perform a DISM and SFC scan on your computer to repair any damaged or corrupted system files in this scenario. SFC (System Files Checker) is a built-in tool that checks your system files for errors and attempts to repair or replace them if any are missing. Similarly, the DISM tool (Deployment Image Servicing and Management) may be used to fix any corruptions.
- To begin, launch the Command Prompt as an administrator.
- Now type the command sfc /scannow in CMD.
- Allow enough time for the SFC scan to finish. After that, run the DISM scan command as follows: /Cleanup-Image /RestoreHealth /Dism /Online
- Restart Windows 11 Installation Assistant once the scan is completed to check whether the problem has been resolved.
Use the Windows 11 ISO Image
If you’re still having trouble installing Windows 11 with the installation assistance, there’s a chance you’ll be able to accomplish it without it. Instead, download the Windows 11 Disk Image, open it in File Explorer, and execute setup.exe from there.
Finally, the best suggestion for fixing Windows 11 Error Code 0x8007007f at the present is as follows:
- With administrator rights, relaunch the Installation Assistant. Turn on User Account Control as well (UAC).
- Check to see whether you have all of the most recent drivers installed.
- Make sure you have enough space on your hard disk to finish the installation. Try again after rebooting your device.
- Run the setup.exe program after downloading Windows 11 ISO.
If none of these suggestions work, contact Microsoft support for more assistance.
The windows 11 installation assistant is already running is a problem that can occur when Windows 10 or Windows 8.1 users try to use the Windows 11 Installation Assistant. There are steps that you can take to fix it.
Frequently Asked Questions

How Do I Fix a Windows Installation Error?
If you are having trouble installing Windows, try downloading the installation media for your version of Windows.
How Do I Fix Windows Update Assistant Error?
Try the following steps to fix Windows Update assistant error: 1. Press Ctrl+Alt+Delete on your keyboard and log in with a local administrator account. 2. Open Task Manager by pressing Ctrl+Shift+Esc keys together. 3. In Task Manager, click on the File menu and select Run new task. 4. Type in regedit into the box that appears and press Enter key or click OK button to continue. 5. Navigate through HKEY_LOCAL_MACHINE\SOFTWARE\Microsoft\Windows NT\CurrentVersion\Winlogon and open Software Explorer window by clicking on it once or double-clicking it twice if you want to view its contents directly from the registry editor window. 6. Right-click on Shell=explorer .exe and select Modify from the context menu that appears and then change Value data to explorer .exe /norestart then Apply changes and exit Registry Editor windows by clicking File Exit option on top left corner of Registry Editor window or by pressing Esc key twice simultaneously on your keyboard followed by Yes button at prompt asking whether you want to save changes made in Registry Editor windows or not?
